The room journal
Freestanding booths: design both sides of the dining-room boundary
A freestanding booth can divide an open dining room while providing seating along the boundary. Its back becomes part of the view from the next zone, so the furniture works in two directions at once. That makes its position, exposed surfaces, and end conditions as important as the seat facing the table.
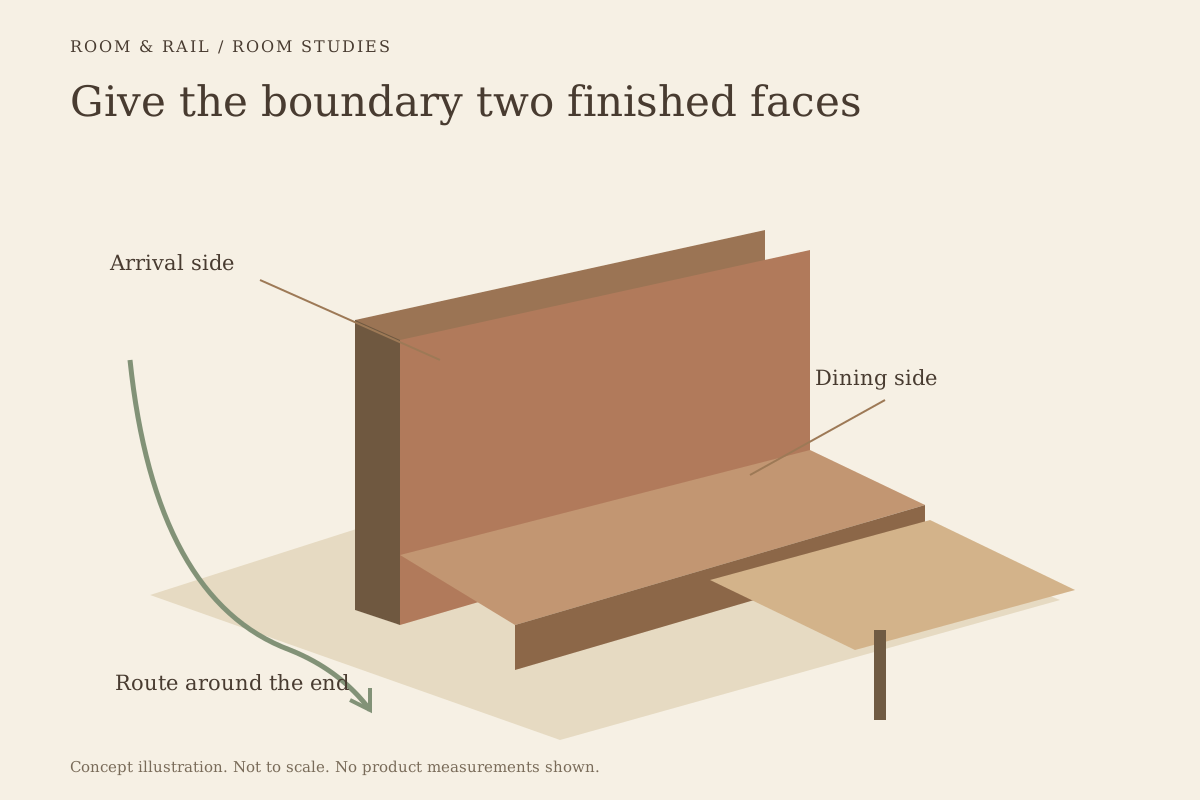
Treat the booth as a furnished boundary rather than a wall substitute. It still needs a suitable support and installation arrangement, a workable table relationship, and space for movement around it. The strongest design gives each side a clear role without leaving the rear looking like unfinished furniture.
Open diagram at full size (new tab) ↗
Decide what the boundary should separate
The booth might distinguish a dining area from arrival, a quieter seating group from a bar, or a perimeter-like zone inside a large room. Each purpose suggests a different relationship to views and movement. A complete visual screen may be unnecessary when a change in furniture direction is enough.
Use the room sightline guide to identify the views across the proposed boundary. Then review how people travel around it. A divider that looks convincing in elevation can still create an awkward detour in plan.
The layout guide keeps the booth connected to the room's other routes and furniture. Draw the complete table setting on its occupied side, not only the booth's outside rectangle.
Select a product appropriate to the arrangement
A booth shown against a wall should not automatically be assumed suitable as a freestanding divider. The rear finish, support, stability, attachment requirements, and installation instructions need to match the intended use. Its visual resemblance to a freestanding product is not enough.
The Hudson modular booth lists armless, left-end, right-end, and corner pieces with wood legs. Those component choices provide a useful starting point for a planned arrangement, but the selected assembly still requires its actual product guidance.
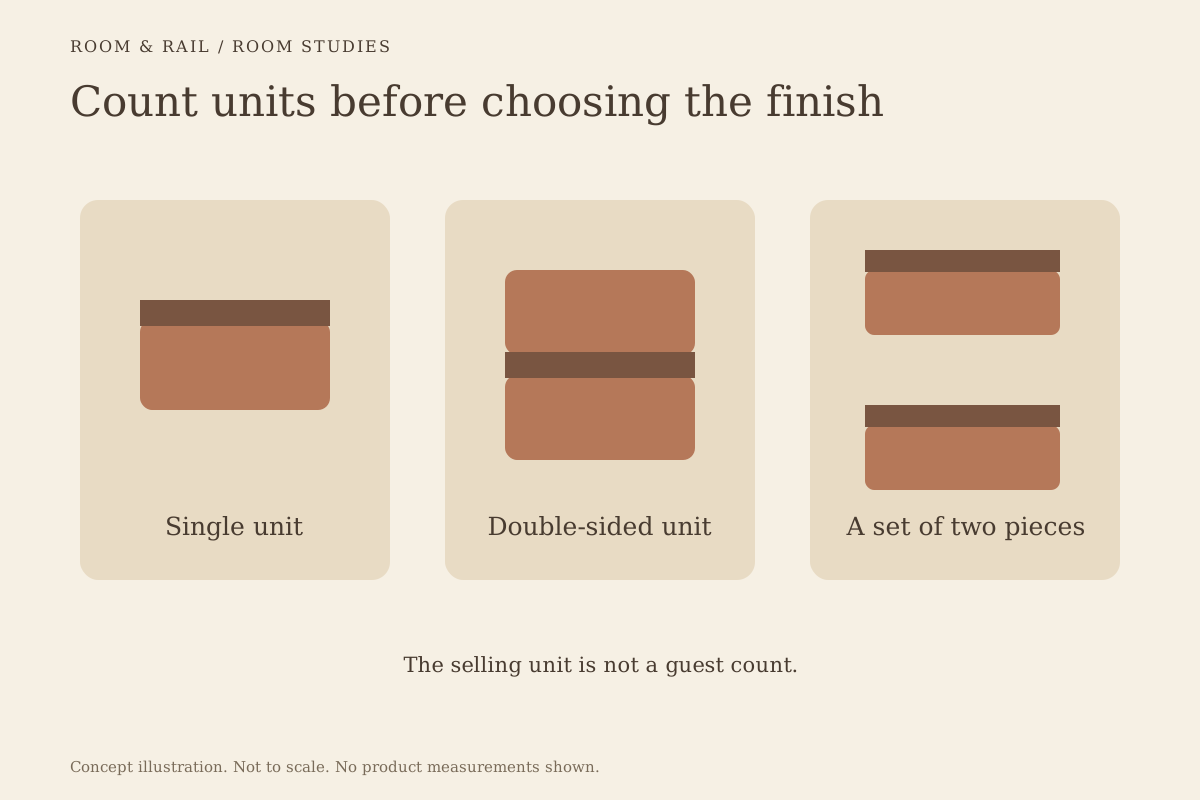
The Cerqona booth lists single and double shapes, padded seat and back, and wood legs. A double configuration is a distinct product choice, not a label to apply to any two single booths placed back to back.
Give the rear face its own design review
The rear may be visible from arrival, another dining area, or the bar. Review its material, seams, caps, joints, and any exposed hardware with the same care given to the seating face. A rear surface that is acceptable against a wall may be inappropriate in a main view.
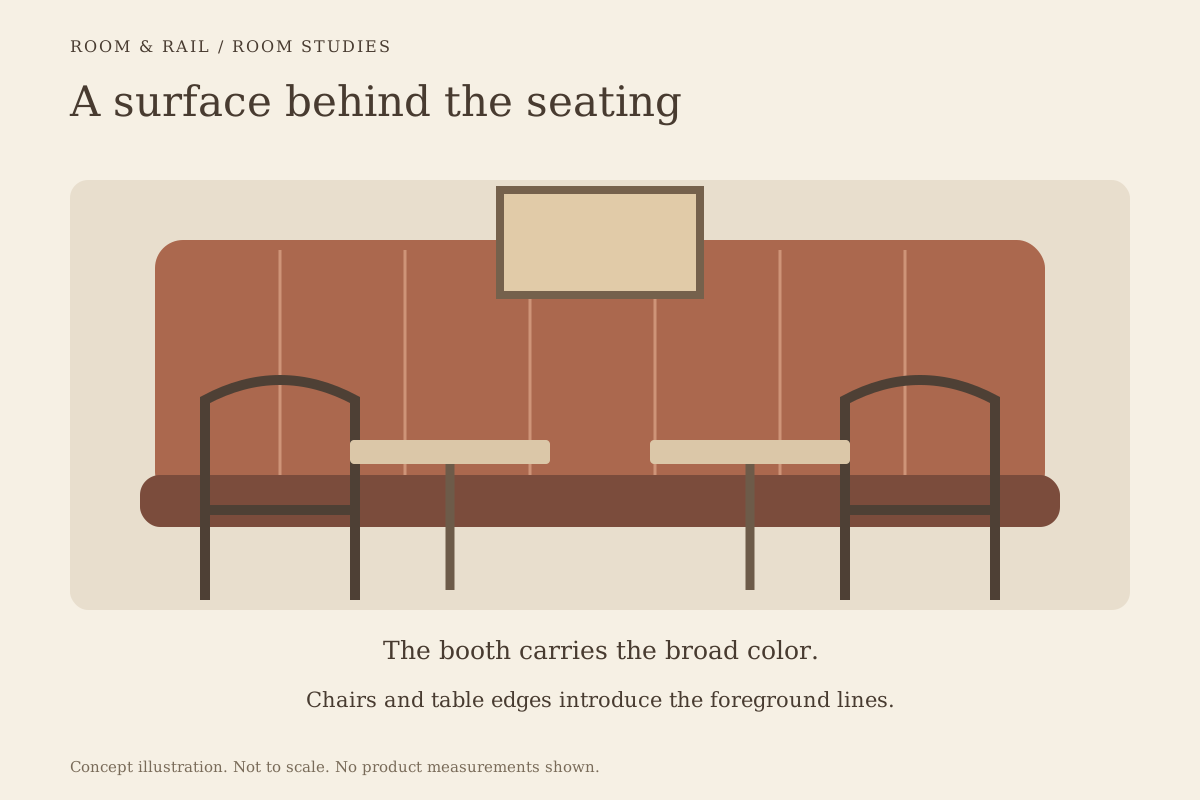
The booth-back study helps treat that broad field as part of the room palette. Consider whether it should relate to the wall finish, the table edge, or the chairs in the adjacent zone.
Avoid assuming that the selected seat upholstery automatically covers the rear. The actual finish scope should identify each visible surface. Where a product offers different rear treatments, compare them at the scale of the run rather than as isolated sample chips.
Make the ends look intentional
The end of the booth is where the boundary meets circulation. It may expose upholstery returns, wood trim, a leg, or a cap. That detail is often close to people walking past, so both its appearance and physical outline deserve attention.
An end aligned with a table edge creates a different composition from one projecting beyond the setting. A curved or winged end can change the entry path. Review the actual outline with the neighboring furniture in position.
The measuring article explains why ends and handed pieces should appear on the drawing. The supplier needs to know which face and end remain visible, especially where two zones use different materials.
Compare the height with what lies behind it
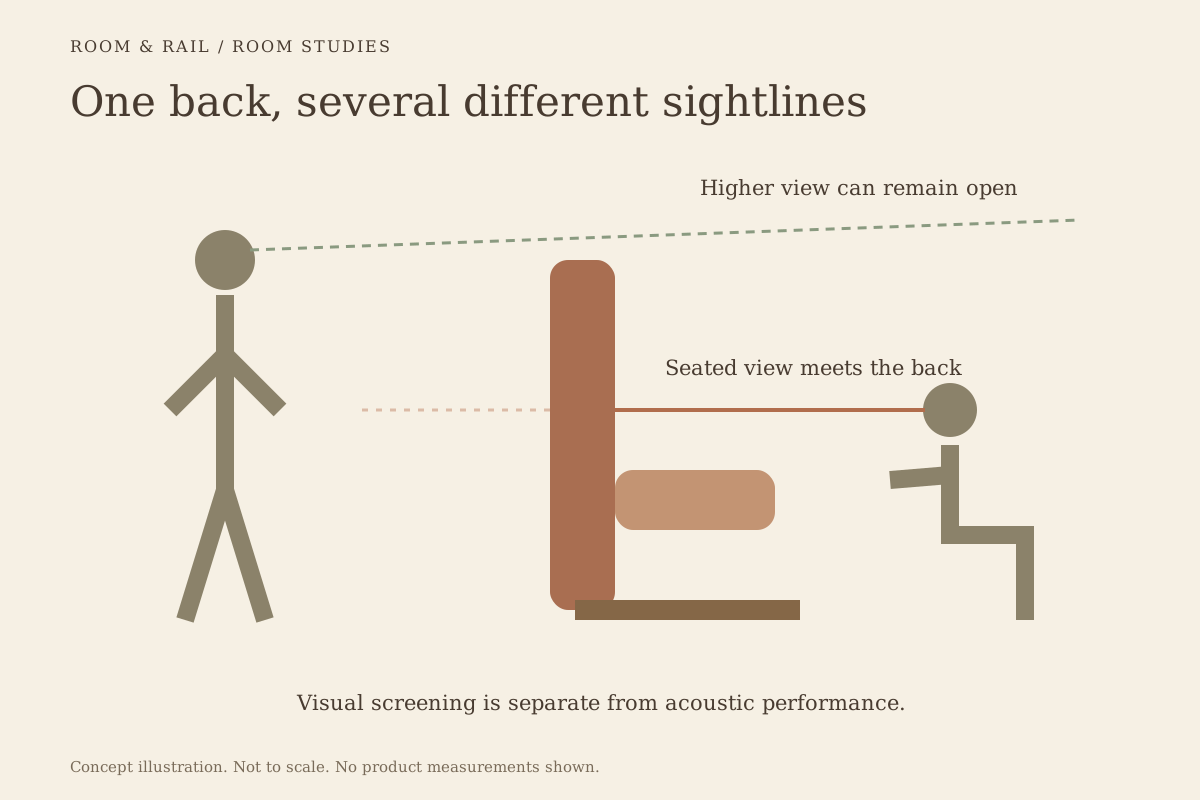
A low back can mark a boundary while preserving a view across the room. A higher back can screen more of the seated activity behind it. The effect depends on the actual viewpoints, floor levels, and neighboring furniture.
The high-back privacy guide separates visual screening from sound isolation. Choose the height for a defined room effect, rather than assuming the tallest option creates the best division.
Look at lighting, artwork, windows, and service features beyond the booth. A back that cuts through an important wall feature can make the elevation feel accidental. A small shift in location may produce a cleaner composition without changing the furniture.
Let the floor remain understandable
An enclosed base creates a continuous block at floor level, while legs expose part of the floor beneath the seat. These forms give the boundary different visual weight. The actual clearance also affects access for the site's cleaning tools.
Compare the selected base with table supports and chair legs nearby. A crowded collection of different feet and finishes can make the lower part of the room feel unresolved even when the upholstery palette is restrained.
The booths-versus-loose-seating article provides another view of that floor pattern. A divider booth can create a settled line while loose chairs introduce movement around it, so the two should be drawn together.
Keep services and cleaning access out of the improvised stage
If the booth includes power, lighting, or another service, coordinate the route and access with the appropriate trades before installation. A cable concealed behind a freestanding back still needs an approved arrangement and a practical way to reach serviceable parts.
Cleaning deserves the same early attention. Review the space at the rear, the ends, and beneath the seat using the tools the site actually uses. A narrow hidden gap may be less useful than either a deliberately accessible separation or a properly detailed junction.
The upholstery guide helps connect the visible material to its care requirements. The rear face can experience different contact from the seated side, including bags or chairs from the adjacent zone.
Keep the boundary compatible with future change
A booth divider can establish a strong room arrangement. Before fixing that arrangement, consider whether the neighboring zone may change use, whether tables need to combine, and how the booth could be serviced or removed.
The custom-versus-standard booth comparison helps decide whether a special construction is justified. A modular approach may answer some future needs, but only the actual product design can establish how it may be moved or reconfigured.
Design both sides as part of one room
A convincing freestanding booth gives the seated side a workable dining setting and the opposite side a finished, deliberate surface. Its ends, height, floor relationship, and surrounding routes make the boundary understandable without needing a separate wall.
Carry those decisions into the finish board with the exact component arrangement and exposed-face treatments. When both sides are resolved, the booth can organize the room while remaining recognizably part of its furniture, materials, and daily use.