The room journal
Measure a restaurant booth project beyond the wall length
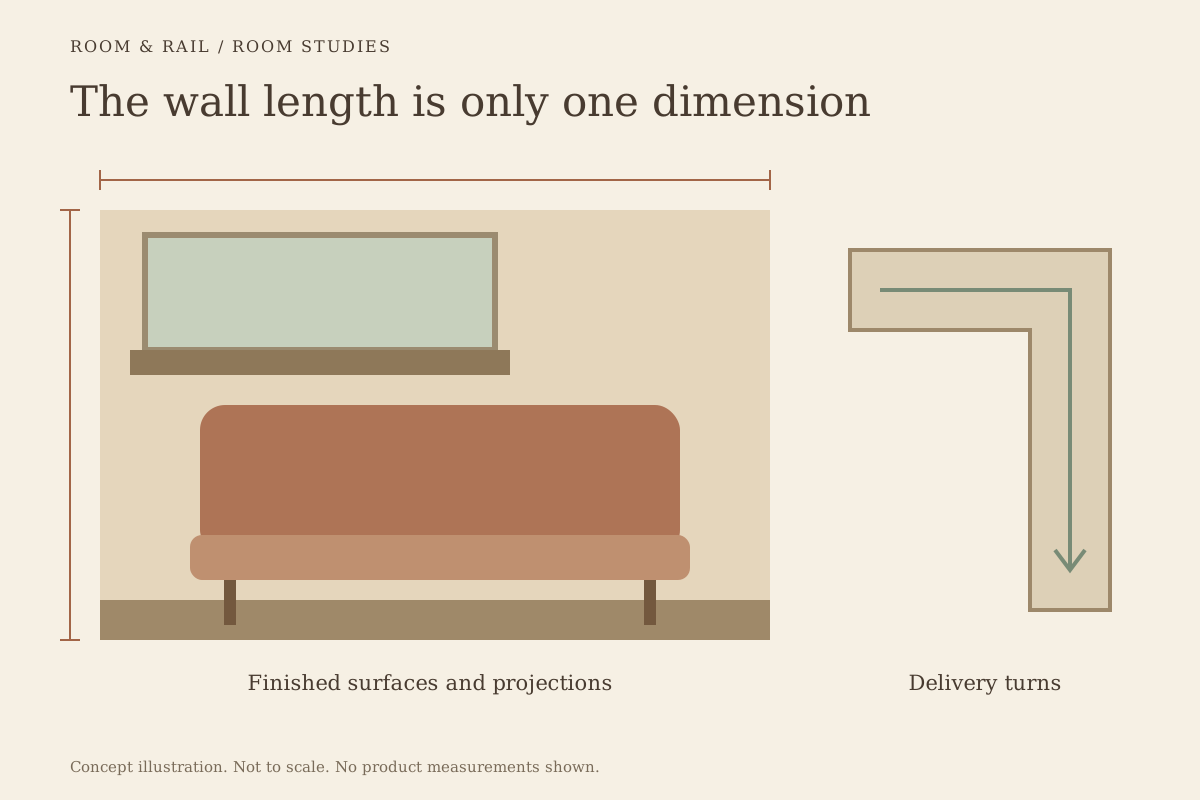
A wall-to-wall dimension is only the outer frame of a booth project. The furniture must also relate to corners, baseboards, windows, table edges, electrical locations, and the route into the room. A booth can match the wall length exactly and still be difficult to install or uncomfortable to use.
Measure the space as a set of relationships rather than a single empty rectangle. The goal is a drawing that distinguishes the finished room, the furniture's overall outline, the usable seat, and the table setting. Each dimension then has a purpose and can be checked against the actual product.
Open diagram at full size (new tab) ↗
Establish what the measurement is taken from
Use the finished surfaces that the furniture will meet. A measurement to framing is different from one to finished wall panels. A dimension above the baseboard may be different from the clear space available at floor level.
Show those reference points on a simple plan and elevation. Mark wall returns, columns, pilasters, ledges, and other projections with their depth and height. A photograph is helpful context, but it should not be the only record of a dimension.
The layout guide explains how room information and furniture records work together. Keep the booth survey connected to the whole room so that a locally convenient fit does not consume another necessary route.
Measure the wall at more than one height
A wall may contain a low radiator enclosure, a window sill, or trim that affects the back at a particular height. The furniture may clear the wall at the base and meet a projection above it, or the reverse. Corners can also be less square than a plan suggests.
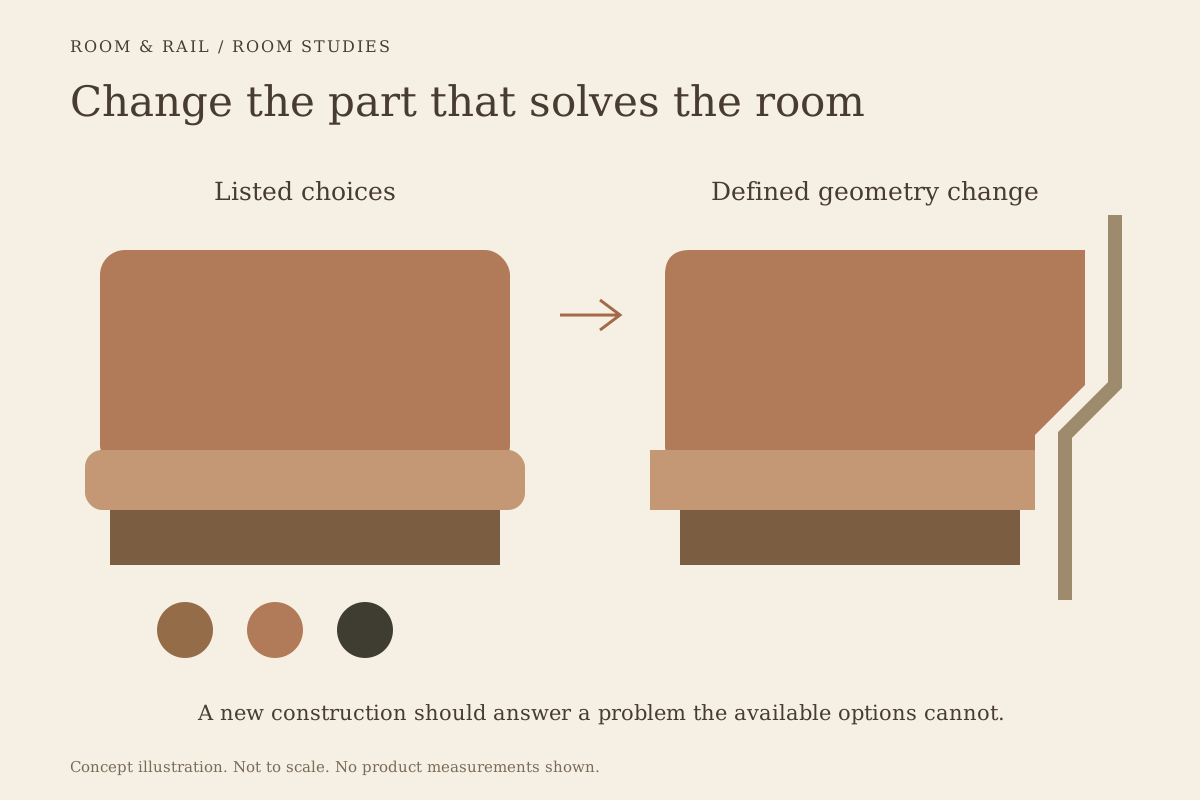
Capture the location of each obstruction relative to a consistent starting point. For an irregular corner, provide enough information for the booth supplier or designer to resolve the geometry rather than asking the installer to discover the mismatch on arrival.
The custom-table article uses the same principle for awkward spaces: the height of the obstruction matters. A booth adds a larger vertical surface, so the elevation deserves as much attention as the floor outline.
Distinguish overall depth from usable seat depth
The booth's outside dimension includes its back construction. The usable seat depends on the back angle, upholstery, and seat form. Those are different measurements, and subtracting a guessed back thickness from a catalog depth does not reliably establish the seat.
The Ottis slat-back booth provides a model-specific example. Its listed dimensions distinguish a 23 3/4-inch single depth from a 43 1/2-inch double depth, with a 42-inch height and listed lengths of 48, 60, and 72 inches. The double is not described by simply doubling the single's overall depth.
That difference illustrates why the actual configuration drawing matters. It does not supply a universal booth depth or a seating capacity. The booth selection guide keeps shape and configuration separate from general category labels.
Set the table relationship in section
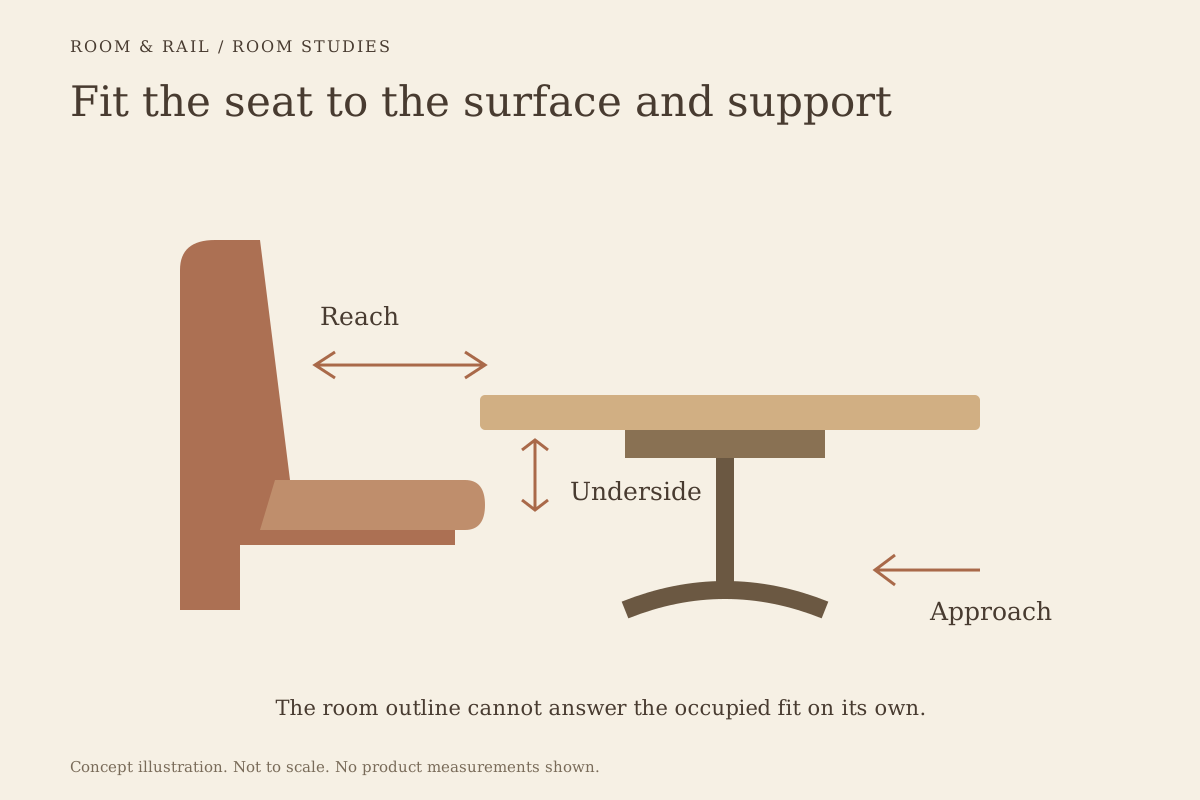
Draw the booth, table edge, top thickness, base, and floor together. Show the intended seating position and the space beneath the table. The table's overall size alone does not reveal where a guest's knees or feet will meet its support.
The booth-and-table fit article examines this relationship in detail. A table can be too far away for comfortable dining or placed so close that entry becomes difficult, even when the room itself has enough area.
Review the selected tabletop and base as an assembly. A different thickness or support can change the underside space without an obvious change in the plan symbol.
Identify ends, corners, and handed pieces
A continuous-looking booth run may be made from several components. An armless middle section, an exposed end, and a corner can have different construction and finished surfaces. A left-hand piece and its right-hand counterpart should not be treated as the same item.
The Hudson modular booth lists distinct 48-inch armless, left-end, and right-end pieces, plus 73-inch left and right corner choices. Those labels are useful when developing a component plan, but they do not replace the complete assembly dimensions.
Number the pieces in their installed order and show the viewing direction used to define left and right. This makes the relationship between the plan and the product choices explicit, especially when a corner looks symmetrical from one angle but is not.
Include the surfaces that remain visible
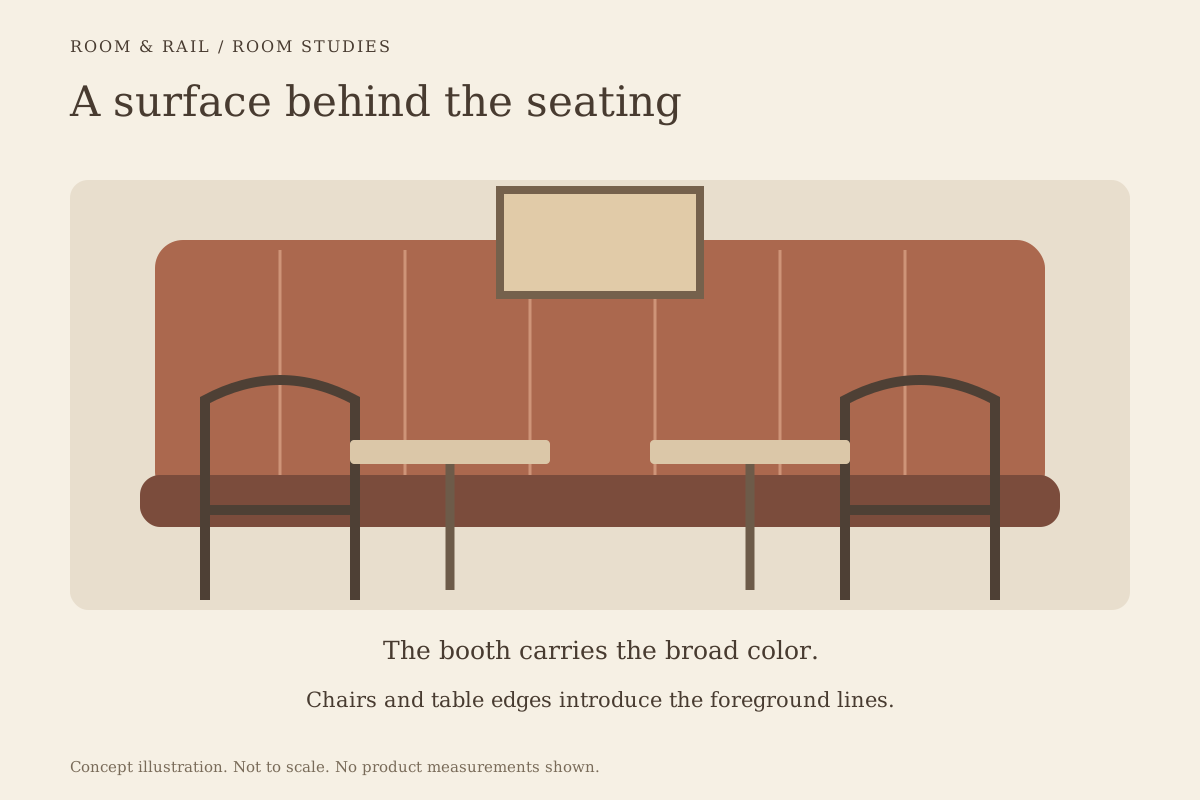
For a wall booth, the ends may be the main exposed construction detail. For a freestanding booth, the rear face can be one of the room's largest visible surfaces. A drawing that only shows the seated side leaves an important design decision unresolved.
Mark where the upholstery, wood, or laminate stops and starts. If the booth meets a wall panel or ledge, include the junction in the design discussion. A narrow reveal can look intentional when planned and like an error when discovered late.
Use the booth-back study to review seam rhythm and the relationship to adjacent furniture. The survey should support those visual decisions as well as the physical fit.
Survey the delivery path separately
The final location may be larger than the openings used to reach it. Measure doors, corridor turns, stairs, elevators, and other constrictions along the actual delivery route. Compare them with the dimensions of the supplied pieces and packaging when those are available.
Do not assume that a modular-looking booth arrives in every component shown in the room drawing. Packaging, factory assembly, and site assembly are product-specific. The delivery plan needs to reflect how the selected furniture is actually supplied.
Keep installation access distinct from the space required after placement. Temporary access can be limited by construction work, stored materials, or an unfinished doorway even when the completed room plan is correct.
Turn dimensions into an agreed arrangement
The useful result of measuring is a coordinated drawing with identifiable reference points, actual furniture dimensions, and a resolved table setting. It should make the ends, corners, exposed faces, and delivery pieces understandable to everyone involved in the order.
Place that approved configuration beside the selected materials on the finish board. A carefully measured booth should carry its exact identity through purchasing, so that the dimensions used to solve the room remain attached to the furniture that is supplied.