The room journal
Restaurant two-top table join alignment during service
A long table for six comes together in the middle of service. The tops meet at a slight step, and the host has already promised that the place settings can stay where they are. A guest puts a glass down across the seam. From the doorway the line is fine. At the seat, it catches the base of the glass and pulls attention straight to the join.
Restaurant two-top table join alignment starts with a pair you can set up and take apart during a real shift. Compare the height at the two edges, the shape of the join, and the usable space around the bases with chairs occupied. Bring the same setting to the test that your team will carry to the table. Keep a note on which small restaurant tables can work together and the orientations in which they actually do.

Open diagram at full size (new tab) ↗
Read the diagram in text
Top views of two 24 by 30 inch tops. Joining the 24-inch edges makes a 24 by 60 inch table, with 20 inches per place along that edge for three. The 30-inch join makes a 30 by 48 inch table, with 16 inches per place.
- FURNITURE CENTRAL
- Both plans use two 24 by 30 inch tabletops.
- JOIN THE 24-INCH EDGES
- JOIN THE 30-INCH EDGES
- 60 in
- 24 in
- 60 in ÷ 3 places
- 20 in per place
- 48 in
- 30 in
- 48 in ÷ 3 places
- 16 in per place
- Worked example. Both plans use 1,440 square inches of tabletop.
Measure the two edges in their service positions
Place both tables where a large party would sit. Use one shared level reference to compare the top elevations at both ends of the edges that will meet. Record the local floor level at each base separately. Repeat after swapping the tables around, following the furniture's approved handling instructions. A height difference that follows one floor position calls for a different review from movement that follows a particular table. Compare the readings before deciding which adjustment or assessment is needed.
Compare the underside at the join while you can reach it. A fitting under one edge can stop the tops from meeting even when the surfaces measure alike. Mark the alignment of the tops and the outermost points of the feet. Use the table tops and bases guide to attach the measurement to the correct configuration. A table that keeps the same top after its base is replaced needs a new fit check before it returns to the list of approved pairs.
Bring two actual tabletop options into the conversation when you are buying. The edge of a rounded sample and the edge of a square sample create different seams. On both of them, lay down the same menu and put a glass beside the join. Ask a server to set a plate down from the route they normally use.
Take the seam through two real layouts
Suppose a pair of rectangular tops each measures 24 by 30 inches. Join the 24-inch edges and you have a surface 24 by 60 inches. Join the 30-inch edges and you have a surface 30 by 48 inches. Both arrangements use 1,440 square inches of top. Their seating edges and service approaches differ. Use a tape outline for both and place chairs before choosing.
In the first trial, your team can put three place settings along a 60-inch edge if each setting fits within the measured space available. In the second trial the shorter long edge is 48 inches, so using the same three positions leaves 16 inches per setting instead of 20. Those figures describe the trial's division of the available edge. They give you a reason to try moving a setting to the end rather than treating the two arrangements as interchangeable.
Compare a standard furniture footprint in the room planning tool, then mark the path to the end seat on a measured sketch. A chair can fit on paper and still put a foot into the base when a guest sits. Try the arrangement with the chairs you intend to use and ask someone to reach the furthest setting without leaning across the neighboring place.
Read the floor through the base
Draw the feet of the two table bases below the joined tops. If the support spreads out toward the seam from both sides, a person sitting there can end up with two sets of feet in the same small space. Move the chair until you find the position a guest would choose. Check whether that moves them into the next setting. The answer can change where the group sits even when the tops meet well.
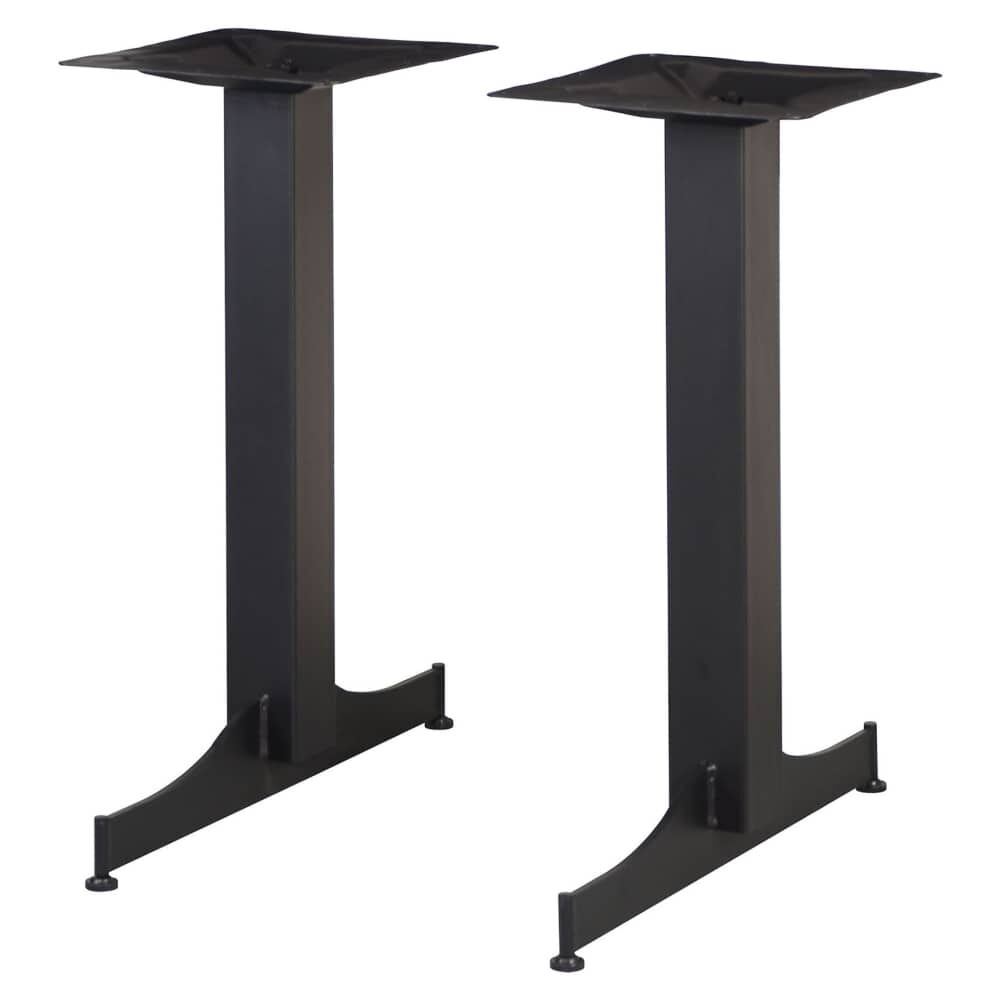
A standard-height base listing can be used as one reference when the shortlist includes a distinct base profile. Confirm the actual top size and supported pairing before assuming a drawing of the base belongs to the table. The guide to replacement tops can help when one of the two surfaces is being replaced and the room will retain the other.
A narrow center runner can cover a join in the middle of the surface, but the plate at the edge still needs a level place to sit. Test the nearest setting with the runner and without it. Write down where you would ask the crew to put a chair when an extra guest is added.
Keep the trial open long enough for someone to sit down and pull the chair back. If the base is the limiting piece, changing the edge finish will leave the problem in place. If the chair fits and the plate catches only at the seam, take the sample back to the tabletop decision.
Leave a short reset instruction
Give each tested pairing a label. Take a photo from the service side with both tops together and another with a person seated nearest the seam. Mark which edge faces the aisle. A pair that works only with one orientation can still be useful when the shift can reset it from the photograph.
Add the approved pair to your finish board with the exact surface and support. Use the sample request page to identify the finish for an adjoining top if a new piece will share the room. Ask the person who will place the order to verify the current size and finish options before saving the final count.
Set the pair again before the first reservation
Give the setup note to a second person and watch them join the two tops without help. Let them carry a tray in from the normal direction, set the place closest to the seam, and seat a guest there. If they have to guess which table to move, add that detail to the note.
Use the ordering steps to keep quantities straight if both tops share a finish but differ in size or support. At the next reservation, check that the label on the layout matches the pair on the floor. A guest putting their glass down will give you the simplest final test.