The room journal
Restaurant tabletop grain direction layout for shared tables
In a room of small wood tables, the long grain can point guests toward the window. Join two tops for a reservation and one turns a quarter turn. The new table works as a place to eat, yet the grain forms a line across the join that nobody saw on the sample board. The answer can be as simple as giving the table an orientation that follows it through every setup.
A restaurant tabletop grain direction layout records how each surface sits in its usual position and how it can meet a neighbor. Look at the room in service light, then put a tray and a place setting across the join. Keep the approved layout with the dimensions and the exact top configuration so the person buying a replacement can repeat it.

Open diagram at full size (new tab) ↗
Read the diagram in text
Three checks from the guide. Mark the view from the guest entrance. Read the material in the same light as the room. Keep the end of the table visible on the order.
- FURNITURE CENTRAL / FIELD GUIDE
- 1
- Mark the view from the guest entrance: Take a photograph of the tables with the room set.
- 2
- Read the material in the same light as the room: Take a second look after the evening lights come on.
- 3
- Keep the end of the table visible on the order
- Work through these checks with the furniture in its intended place.
Mark the view from the guest entrance
Stand where diners first see the row. Take a photograph of the tables with the room set. Note which way the grain on each top seems to run from that position. Then walk to an occupied table and look along the surface as a guest would. The color can be the same across the room while the grain direction makes two rows appear to move in different ways.
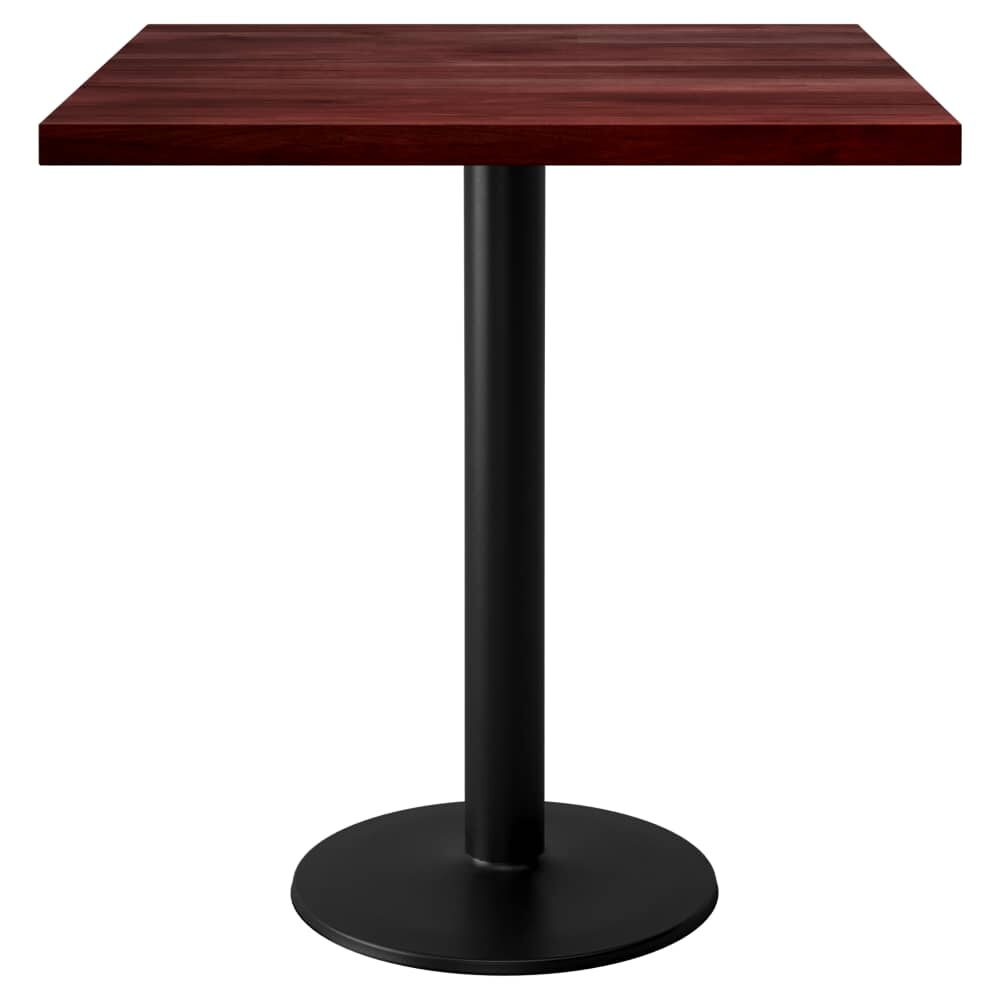
Review the wood tabletop selection and bring actual finish samples into the same view. Use the butcher block top range if the approved material has a visible direction that matters to the layout. Check how the specific surface is made and what the selected size offers. A photograph of another top of the same name may leave out the variation you will see at the edge.
Put the grain direction on the sketch with a small arrow. Give the window row a different mark from the wall row. If the same table can go to either place, check the view before using one layout note for both.
Lay out the two arrangements the room uses
For a worked layout, mark grain arrows on three 30-inch square tops and set them end to end. The surface is 90 inches long, with joins 30 and 60 inches from its head. First turn all three arrows toward the door. Then turn only the middle table a quarter turn. Its grain runs across the table for the middle 30 inches, and the two seam positions and overall length stay the same. Take a photograph from the same doorway in each version. The square tops let you see the grain change while keeping the furniture outline and place settings fixed.
Draw the arrows on both outlines. Put a napkin at the nearest place, a glass at the seam, and chairs in the real occupied positions. Check whether a turned top creates a clear boundary or simply looks out of place. A single long line can suit a quiet wall. A change in direction can give a joined table a distinct setting if the rest of the room supports it.
Check a conventional dining group in the room planning tool. Put the grain arrows and actual service paths on the same measured drawing as the tested seats. Give the shorter approach a mark on the sketch and check whether two guests can use the joined table without moving the neighboring chair. The approved direction still has to work with the actual bases and seats.
Read the material in the same light as the room
Take a physical sample of the tabletop option into the room. Align it with the usual table position, then turn it as the crew would for a larger booking. Look from the host point and from the seated position closest to the window. At the join, compare the ends as well as the grain. The line where the tops meet can show a difference in tone that disappears when you view them separately.
If a solid wood butcher block table belongs on the shortlist, check its current finish choices and construction. Bring a physical sample to the position you are considering. The top sample evaluation guide gives you a way to compare samples alongside the actual table setting.
Take a second look after the evening lights come on. Ask someone to set the two tops from the drawing while you stand at the entrance. See whether their first attempt produces the view you chose. If the wrong orientation still fits on the floor, use a clearer mark on the setup sheet.
Save the direction with the model and finish
Record the tabletop size, edge, finish, and the location it serves. Include which way the visible grain should sit beside a retained top if that matters to the choice. Request the exact finish sample and keep its label on the board. Check the selection when the actual order is reviewed, especially if another size will fill a gap at the end of a row.
Use the layout and furniture schedule guide to connect the table number to the correct setup. Give each pairing a photograph from above and a view from the approach. Save the configured models and finishes on the finish board. Keep the measured drawing in the project record and note its label on the board.
When the buyer expects to retain one top and replace its neighbor, pull both back to their own marked positions before signing off. Try the old top against the new grain direction and photograph each option while the front chairs are occupied. The difference may be visible only from the path the server takes. Give that view a place on the same card.
Keep the two approved arrangements on a small sheet in the room. A new crew member should be able to identify the direction from the picture and the table number. Ask them to turn the last top as shown and check whether the nearest chair can still be pulled out.
Keep the end of the table visible on the order
Use the ordering steps to verify the top size, finish, and support. Put the finish card with the installation layout and show which end faces the aisle for the first setup. Leave a note by the retained tables that will meet the new tops.
At the next booking, look at the joined table from the guest entrance. Then walk to the nearest place and set down the actual menu. If staff had to move a table to reach it, record that move on the setup sheet beside the original grain arrow.